
Disclosure of Material Connection: Some of the links in this post may be "affiliate links." This means if you click on the link and purchase an item, I will receive an affiliate commission. Disclosure in accordance with the Federal Trade Commission's 16 CFR, Part 255. This site is a participant in the Amazon Services LLC Associates Program, an affiliate advertising program designed to provide a means for sites to earn advertising fees by advertising and linking to Amazon.
If looking out into your backyard and not seeing a patio fills you with sadness, there’s an easy way to create one in just one weekend.
Patio blocks or pavers are a DIY dream when it comes to making a patio and it’s a cheap and effective way to make a usable outdoor space.
How do you lay patio blocks correctly?
Laying a patio with blocks or pavers starts with excavating the existing ground, adding a layer of gravel, and then placing the blocks carefully in a pattern.
The job usually takes just two days to complete and requires no previous experience, so it’s a cheap and easy way to make a patio.
A simple yet stylish patio could be yours in just a weekend, so there’ll be no more looking into the backyard and longing.
We’ve created a simple DIY guide to laying patio blocks and everything you need to get the job done, so you could be enjoying your new outdoor haven in just a few weeks.
The Benefits of Laying Patio Blocks

Patio blocks and pavers are one of the most popular surfaces used in outdoor spaces across the US.
If you’ve been weighing up your options for patio flooring and have been wondering what these blocks can offer, check out just some of their benefits:
Affordability
The only costs required for a block patio are the pavers, and other incidentals, so you can do an average size patio for under $1,000.
You’ll also have to factor in the time taken to do the job but if you can find time over the weekend, it’ll save a lot in labor costs.
Easy to install
With all of the gear ready, it takes less than two days to complete the project from start to finish, making it one of the easiest patio options to install.
Low maintenance
The upkeep of a block patio is minimal and over the years you’ll only need to do occasional things like filling in the gaps with sand and knocking pavers back into place if they come loose.
Long lasting
A solid paver patio, if installed correctly, will last at least 10 years, and sometimes more.
The natural durability of this material means it can withstand a lot of pressure and movement without showing any signs of damage.
Weather-resistant
Patio blocks are the perfect material for outdoor use as they’re water and UV-resistant.
They won’t fade in color even with sun exposure nor will they corrode or rot when they get wet.
Preparing Your Patio

The best thing about patio blocks is that it’s a relatively easy job to DIY and should take most people a weekend to complete.
However, some preparation goes into it, with the most important being measuring up the space you want to lay the blocks so you know exactly how much material to buy.
Take your tape measure and map out the perimeter of the patio, being sure to measure twice.
With an idea of the square footage, you’ll know how many pavers to buy to cover it.
These measurements will also help you calculate how much gravel to buy, as you’ll want at least four inches of coverage to create the paver base.
When choosing a space for your patio, think carefully about how it’ll impact the use of the area.
Most patios come directly off of the house but it might not always be possible.
You might prefer somewhere naturally shaded, an area that has a supply of electricity, or just wherever there is free space in your backyard.
Tools and Equipment

Before you can start preparing for the job, you’ll need all of the tools and equipment at the read.
Make sure by this point, you’ve measured up the desired space and know what’s required in terms of gravel, sand, and brick pavers.
This is everything you’ll need to get started with laying the patio blocks yourself:
- Plastic edging
- 12” spikes
- 2 x 4 wooden board
- Sand
- Gravel
- Brick pavers
- Tamper
- Rake
- Spade
- Rubber mallet
- Broom
Step by Step Guide

Each outdoor space will have its own requirements, but as a general guide on how to get the job done, check out the steps needed to create a patio block outdoor space, from start to finish.
1. Prepare the base
Mark out the area where you want your new paver patio to go using a tape measure and then place a stake at each corner.
Prepare the base by excavating the area and removing things like stones and weeds, working your way down to around eight inches below the ground.
2. Pour the gravel
Pour enough gravel over the patio space so that it’s evenly covered. Use your rake to spread it out and then the hand tamper to push it down to a level surface.
3. Insert the edging
Measure out how much edging is needed to cover every edge of the patio base and then cut it down to size.
Put the edging around the border of the patio and hammer the 12-inch spikes to hold it in place.
4. Pour the sand
Cover the patio space with sand by pouring it inside the edging and on top of the gravel.
Use your rake again to distribute the sand over the entire area. Go over it again with the 2×4 to smooth any imperfections and make it level.
5. Install the pavers
Choose a corner and work your way in front there, laying one brick paver at a time.
After you place a few in, use the rubber mallet to tap them closer together. once you’ve started with a pattern, stick to it, and continue on until the area is filled with pavers.
If you end up with spare space, the pavers will need to be cut down to size to fit.
6. Cover the joints
Use a specific paver or patio sand to fill in the small gaps between each paver. Pour some onto the surface and then push it into the spaces with your broom. Once complete, hit the bricks with the hand tamper to secure them further.
DIY vs Professional: What Do You Need?

A bit of thoughtful planning is the best way to guarantee success with jobs like this, and even with minimal experience, you can lay patio blocks yourself.
However, if you’re not sure about your skill level or simply don’t have the time to do it, some professionals can help.
The average cost for a professionally laid block patio is between $14 to $30 per square foot, and there may be more for labor.
At this cost, you could consider having a concrete patio laid as it can be cheaper, but it depends on the final effect you want and other features that would suit your outdoor space.
Pave the Way to a New Patio
A simple but stylish paver block patio is the easiest way to start creating your outdoor haven, and with this blank canvas done, you can let your imagination run wild.
Paver blocks are easy enough to lay yourself as a DIY job but they do take thoughtful planning, so spend a little time getting ready and then dedicate a weekend to creating your brand new, beautiful patio.
Related Questions

Having a patio base is just the beginning when it comes to outdoor entertaining, and you can do just about anything with it once the blocks have been laid.
If you still have more questions about patio blocks and pavers, we’ve answered some commonly asked ones, so read on to see if we can help.
What Are the Best Pavers to Use for a Patio?
Brick pavers and concrete pavers are the two most common materials used for making a patio.
Both options are durable, economical, and easy to lay yourself, but concrete is the cheaper choice, while brick comes in more styles and colors.
Can I DIY A Concrete Patio?
Pouring any type of concrete slab by yourself takes technical expertise and there may be work required to make a base and ensure it’s been laid correctly.
Depending on your skill level and experience, you may want to call in the professionals for this type of job or stick to an easier DIY option like installing brick pavers.
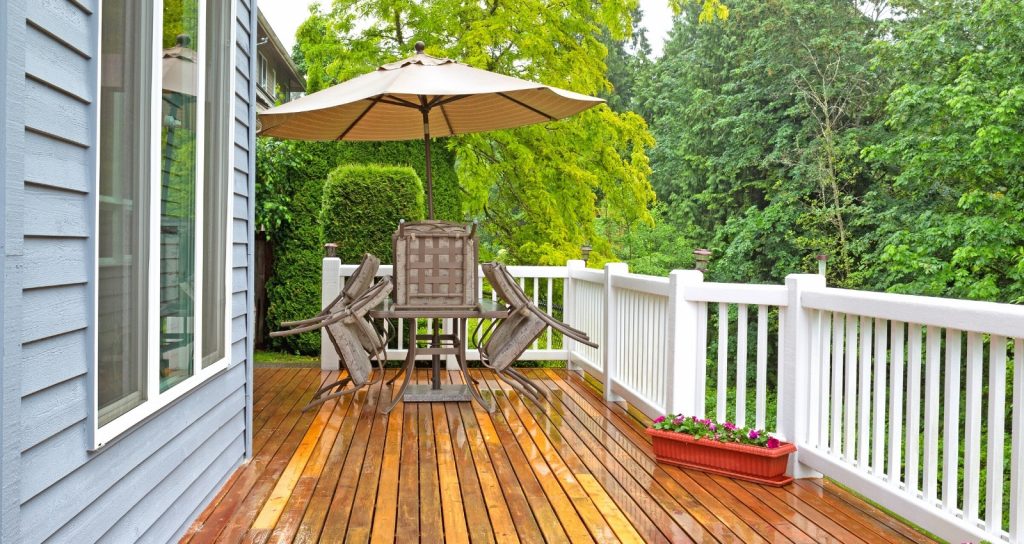
How Long Does Wood Decking Last?
The lifespan of a wooden deck or verandah depends on the type of wood used, how well it was installed, and whether it’s been maintained and cared for.
Untreated hardwood decks will generally last between 10 to 30 years, whereas a treated wood or composite material can stay in good condition for up to 50 years or longer.
Resources: